


A heat transfer decoration sample can look sharp while leaving unanswered questions about edges, registration and the bottle underneath. Buyers should approve the supplied decoration system, not assume that a successful graphic on one surface transfers unchanged to another resin, coating or shape.
Quick Answer
Approve heat transfer cosmetic bottle decoration on the final substrate and geometry. Define artwork zones, alignment references, edge appearance and accepted visual defects. Check decorated parts for distortion, adhesion and relevant product-contact or wiping damage. Record the transfer construction and process revision. Do not treat every heat transfer method as dye sublimation.
Identify the proposed decoration system
Ask the decorator to describe the transfer and receiving surface, including primer or protective finish where used. Keep film, ink and substrate references in the approval record. A process name alone does not establish how a graphic is bonded or which materials are compatible.
Equipment suppliers such as ITW CER describe heat transfer applications for cosmetic containers. That establishes a decoration route, not universal suitability for a particular bottle. Request project-specific trials from the responsible decorator.
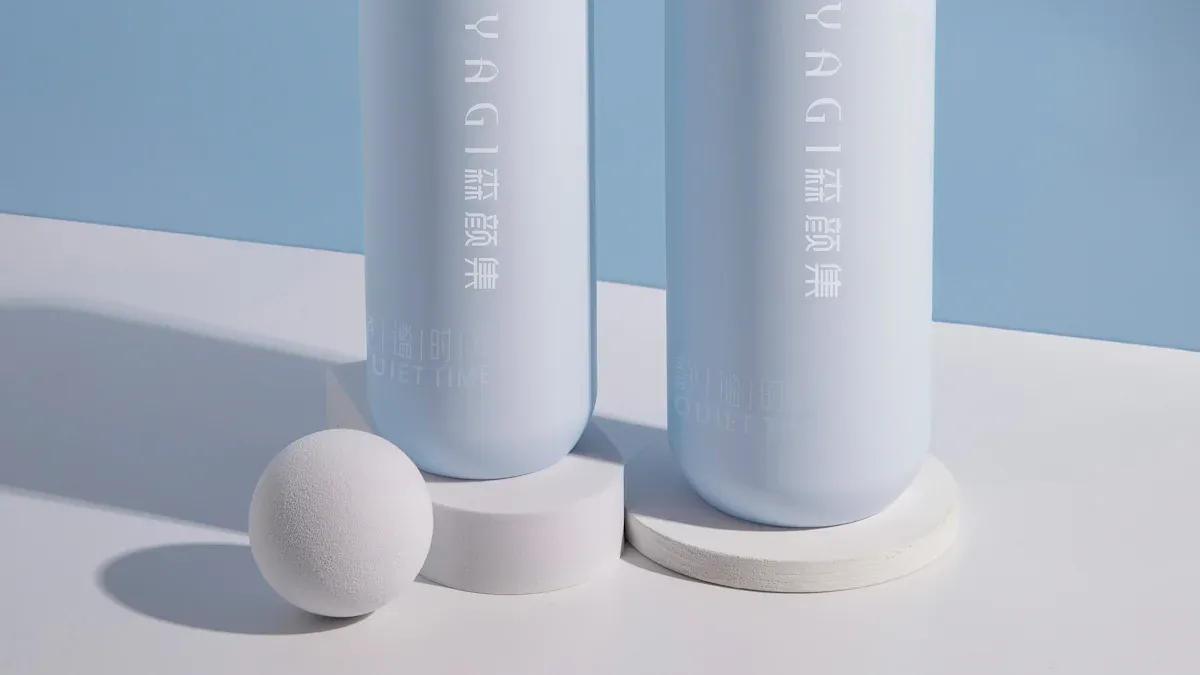
Define the printable zone from the drawing
Mark the artwork panel, orientation and clearance from shoulders, base radii and assembly interfaces. Curved or tapered areas may require different tooling or artwork treatment. Confirm the usable zone with the decorator before resizing a graphic from a flat design sheet.
Choose physical alignment references that remain available during decoration. A visual front may not correspond to a stable fixture datum. Check the artwork’s position relative to the pump or cap after assembly when the finished pack needs a deliberate orientation.
Approve edges and fine details
Inspect decorated samples under agreed lighting and viewing conditions. Review transfer boundaries, missing areas, small text, gradients and unwanted marks. Where an edge or overlap is visible, define what is acceptable on the actual bottle rather than declaring all transfer edges invisible.
Use representative light and dark backgrounds if the same artwork appears on several SKUs. Compare the transferred color against an approved decorated reference, not only a monitor image. Record whether a color difference or registration shift is a limit sample, a reject or an unresolved observation.
Check the bottle after decoration
- Inspect for distortion or surface change around the decorated zone.
- Confirm closure and assembly interfaces remain clear.
- Check whether handling fixtures leave pressure or rub marks.
- Review adhesion using a method agreed with the decorator.
- Retain undecorated controls for comparison.
Heat and pressure settings belong to the validated process for the actual pack. Do not publish a universal temperature or dwell time as an instruction for every cosmetic resin. If the substrate or surface finish changes, ask whether the existing process approval still applies.
Include product contact and packout
Test relevant spills, wiping and handling using the actual formula and planned conditions. The coating may remain attached but lose gloss, stain or transfer ink, so appearance and adhesion need separate observations. Inspect finished packout after agreed transport trials for surface rubbing and transfer between adjacent units.
Retain artwork, material and process revisions with results in the sample approval record. Send Oulete the bottle drawing and artwork brief to confirm available decoration scope.
Build an artwork-to-part approval table
Give the decorator an actual-size artwork file and a marked component drawing. Identify the front datum and whether artwork orientation must match the assembled closure. Retain the undecorated part and decorated proof under separate references so the receiving surface is not lost from the approval history.
| Approval item | Reference | Observation |
|---|---|---|
| Position | Drawing datum and artwork revision | Alignment on the assembled bottle |
| Fine detail | Actual-size physical proof | Text edges and missing areas |
| Transfer boundary | Marked sample | Visible edge or overlap |
| Handling | Agreed trial method | Marking, appearance and attachment |
Use distinct records for each substrate or finish candidate. A proof on a convenient blank component can support early artwork review, but label it as preliminary if it differs from the supplied bottle. Final acceptance belongs to the production-intent construction.
Investigate an edge defect before resizing artwork
For example, a graphic may appear complete on the main panel but lose detail near a shoulder transition. This illustrative observation does not establish whether the artwork, fixture or receiving surface caused the problem. Retain the affected part and mark the location relative to the drawing.
Ask the decorator which change is proposed and request a new proof with a separate revision. If the artwork is reduced, recheck information size and position on the assembled pack. If the process changes instead, inspect the bottle and relevant handling results again rather than approving the graphic alone.
Release the final proof as a complete system
Record the artwork, part, receiving surface and transfer references together. Keep accepted and rejected appearance examples clearly labelled. Inspection should know which difference matters and under which viewing conditions it was judged.
Any later change should identify the affected approval items and responsible reviewer. A retained finished sample helps purchasing and quality teams reproduce the agreed result without treating the generic process name as the specification.
FAQ
Is heat transfer always sublimation?
No. Confirm the actual transfer construction and bonding process.
Can artwork cover every curve?
Do not assume so. Agree zones from the real geometry and tooling trial.
Does a sharp print prove durability?
No. Check relevant adhesion, contact, wiping and packing conditions.